The Problem That Shows Up Three Days After the Pour
A woodworker pours a river table. The pour looks clean — no visible bubbles, good color, self-leveling nicely. Three days later, full cure reveals a haze across the center panel, a cluster of micro-bubbles just below the surface, and a faint yellow tint that wasn’t there in the liquid. The wood is fine. The technique was fine. The table is a reject.
This scenario plays out constantly in the table top epoxy segment, and the root cause attribution is almost always wrong. The customer blames technique. The distributor suspects the customer. The manufacturer defends the product. In most cases, the actual problem is a combination of formulation characteristics and application conditions that nobody in the chain explained clearly at the point of sale.
For B2B buyers sourcing table top epoxy for resale or private label, understanding what drives optical clarity — and what drives bubble formation — is not just technical knowledge. It’s the difference between a product that generates repeat orders and one that generates support calls.
Optical Clarity: What It Is and What Degrades It
“Crystal clear” is a marketing phrase. In manufacturing terms, optical clarity in cured epoxy resin is measured through three distinct properties, each with a different cause and a different solution when it goes wrong.
Yellowness Index (YI)
Yellowing is the most common clarity complaint in table top epoxy. It manifests as a warm amber tint in the cured resin, ranging from barely perceptible to strongly discolored depending on the formulation and the conditions under which it cured.
The primary cause of initial yellowing — yellow color present immediately after cure, before any UV exposure — is the hardener chemistry. Aromatic amine hardeners (including DETA, TETA, and similar compounds) are inherently yellowing. They’re reactive and fast, which is why cheap commodity epoxy often uses them, but they produce a colored cure. Cycloaliphatic amine hardeners and modified aliphatic systems cure to a substantially cleaner color. A table top epoxy formulated with non-yellowing hardener chemistry starts clear; one formulated with aromatic amines starts amber.
Secondary yellowing — color development over time with UV exposure — is a separate mechanism. Even a non-yellowing hardener system will yellow under sustained UV exposure without adequate photoprotection. UV stabilizer packages (hindered amine light stabilizers, or HALS, combined with UV absorbers) slow this process. The concentration and selection of these additives is a formulation decision; it doesn’t show up on the product label and requires direct inquiry with the manufacturer.
What to ask:
- What hardener chemistry does the formulation use — aromatic, aliphatic, or cycloaliphatic amine?
- What is the initial Yellowness Index at full cure (ASTM D1925 or ASTM E313)?
- What UV stabilizer package is included, and what is the expected color retention under defined UV exposure conditions?
Haze and Cloudiness
A cured epoxy that looks clear in a thin section but shows haze or cloudiness in a thicker pour, or when viewed at an angle, has a scattering problem — light is being deflected by microscopic structures within the polymer matrix rather than passing through cleanly.
There are several sources of this scattering:
Incomplete mixing. Epoxy resin and hardener that aren’t thoroughly combined cure inhomogeneously — some regions richer in resin, some richer in hardener. These composition gradients create refractive index variations that scatter light. This is a user technique issue but also a formulation issue: higher-viscosity products are harder to mix completely, and products with narrow mixing ratios (where a small measurement error produces a large stoichiometric deviation) are less tolerant of imprecision.
Phase separation from moisture. Amine hardeners react with atmospheric moisture and CO₂. In humid conditions, this can cause blushing — a white, waxy surface layer — or internal cloudiness from moisture-induced phase separation. Formulations with moisture-tolerant hardener systems are significantly more robust in real-world application conditions.
Incompatible additives. Pigments, dyes, or other additives that aren’t fully compatible with the resin system can migrate, aggregate, or phase-separate during cure, creating localized cloudiness. This matters for any private label brand adding colorants to a clear base resin — the compatibility of the colorant system with the base needs to be validated, not assumed.
Residual stress in thick sections. In deeper pours that generate significant exothermic heat, thermal stress during cure can create micro-fractures or density variations in the polymer that scatter light. This is why deep pour products and table top products are distinct formulations — and why using a table top epoxy in a deep pour application produces both thermal and optical problems.
Surface Finish Quality
A perfectly clear epoxy can still look wrong if the surface finish is poor — fish-eyes, orange peel texture, or a matte rather than gloss surface. Surface finish is partly a formulation characteristic (surface tension, flow-out behavior, defoamer presence and concentration) and partly an application condition issue (substrate contamination, temperature during pour, overly aggressive torching).
The defoamer question is worth exploring directly with the manufacturer. Defoamers reduce surface tension and help air escape from the mixed resin during the working time window. Under-defoaming leaves micro-bubbles. Over-defoaming causes fish-eye craters. Getting the concentration right for a given viscosity and working time is a formulation optimization — and it’s one of the less visible variables that distinguishes a product developed for table top applications from a general-purpose casting resin.
Bubble Formation: Causes, Types, and Control
Bubbles in cured epoxy are not all the same. They form through different mechanisms, at different stages of the application process, and require different interventions. Knowing which type you’re dealing with determines whether the solution is a formulation change, a process change, or a user education change.
Mixing Bubbles
The act of combining Part A and Part B introduces air. Mixing too vigorously — especially with a drill mixer at high speed — whips air into the resin the way a whisk aerates cream. These bubbles are typically small and uniformly distributed through the mixed resin.
Most table top epoxy formulations have sufficient working time and low enough viscosity for mixing bubbles to self-degas — the bubbles rise to the surface and pop under their own buoyancy during the working time window. Formulations with higher viscosity, shorter working time, or insufficient defoamer don’t degas adequately, and the mixing bubbles become permanent.
What this means for sourcing: Viscosity at application temperature and working time are the two formulation specs most predictive of self-degassing performance. A product with 800–1,200 cPs at 25°C and 30+ minutes working time will self-degas reliably. A product with 2,500 cPs at 20°C and 20 minutes working time will not.
Substrate Outgassing
Wood — particularly freshly cut, green, or porous species like oak and walnut — outgasses moisture and air when warm resin is applied. The heat from the mixed resin, combined with the temperature differential between the resin and the wood, drives gas out of the substrate and into the resin layer from below.
These bubbles typically appear 10–30 minutes after the pour, rising from the wood surface upward. They’re often larger and more localized than mixing bubbles, and they can’t be fully addressed by torching — more bubbles keep coming as the outgassing continues.
The standard professional practice is a seal coat: a thin, brushed application of epoxy to the substrate before the flood coat, allowed to cure to the point where outgassing is complete before the flood coat is applied. The seal coat traps the outgassed air in the thin cured layer rather than letting it migrate into the flood coat.
For private label brands, this application guidance needs to be in the product documentation. Customers who don’t know about seal coating will blame the product for substrate outgassing bubbles.
Recoat Bubbles
In multi-layer applications, bubbles can form at the interface between a cured first coat and a second pour. The cause is usually one of two things: the first coat has fully cured and a hard barrier has formed that traps air between layers, or solvent cleaning between coats introduced contamination that disrupts surface tension.
The recoat window — the time after the first coat during which a second pour will chemically bond without adhesion issues — is a product-specific specification. Most table top epoxy products have a recoat window of 4–24 hours after the first pour; outside this window, mechanical preparation (light sanding) is required before recoating.
This specification is frequently missing from product TDS sheets. If your product doesn’t specify the recoat window, request it from the manufacturer — and if they don’t have data on it, treat that as a formulation gap.
The Formulation Variables That Actually Matter
Sourcing table top epoxy for resale means making formulation choices that affect end-user outcomes. These are the variables worth interrogating at the manufacturer level.
Viscosity at application temperature. Lower viscosity means better self-leveling, better self-degassing, and better penetration into wood grain on the seal coat. Products in the 800–1,500 cPs range at 22–25°C are the practical sweet spot for table top applications. Viscosity above 2,000 cPs at room temperature requires more deliberate degassing technique from the end user.
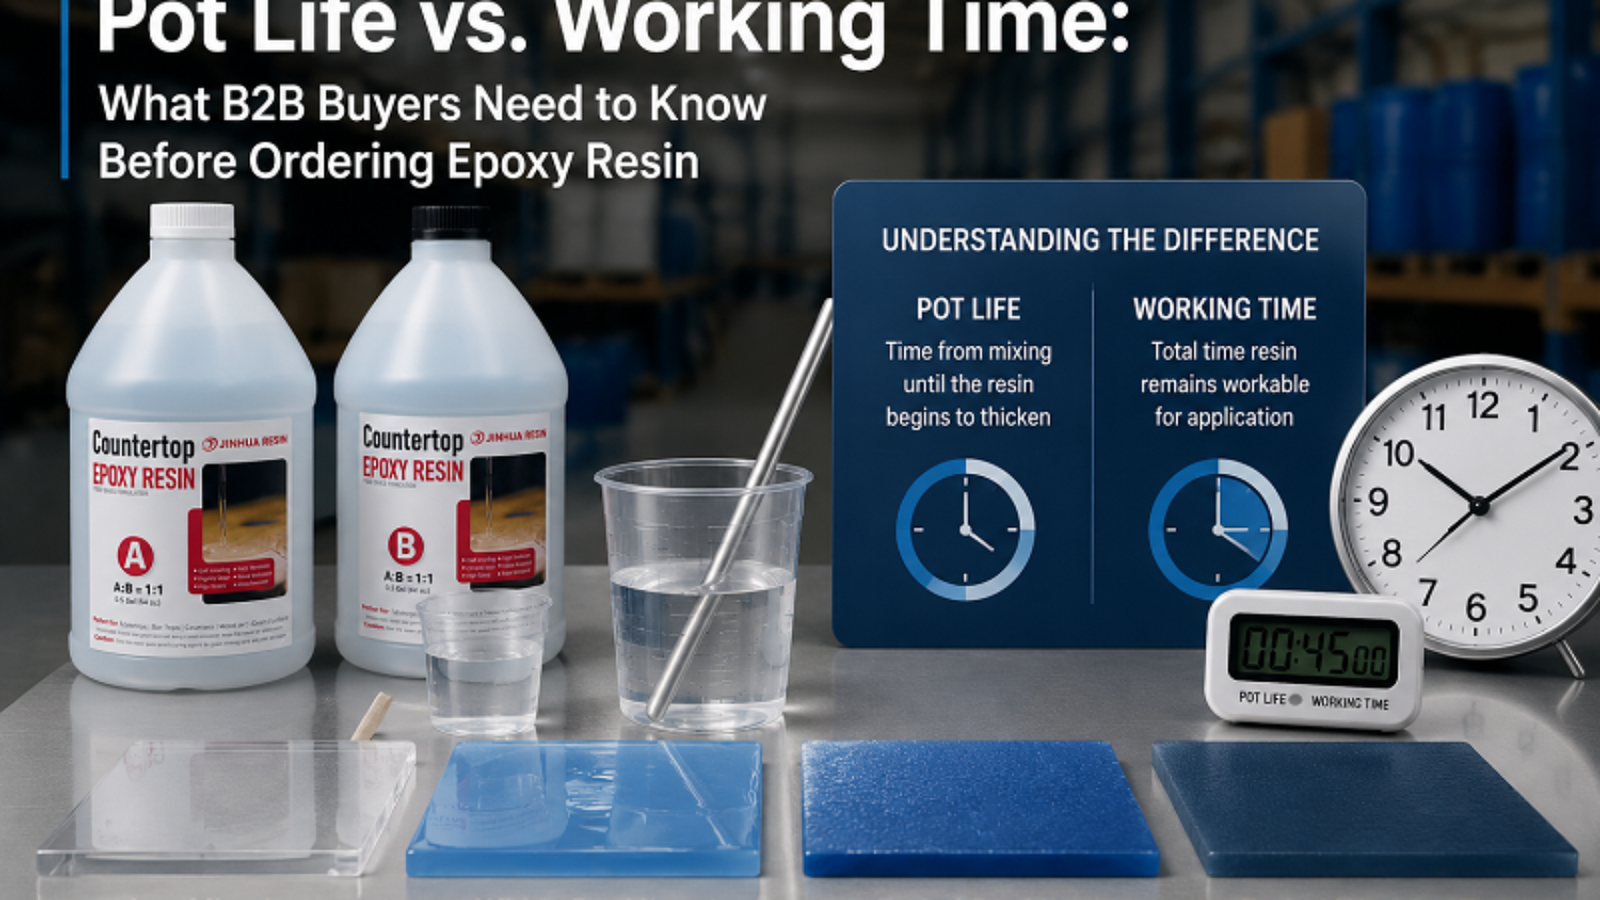
Pot life vs. working time. Covered elsewhere in this series, but relevant here: longer working time gives bubbles more time to rise and self-degas before the viscosity increases enough to trap them. Products with 30–40 minutes working time at standard conditions are more forgiving than products with 15–20 minute windows, all else equal.
Hardener type and its color contribution. As discussed, cycloaliphatic or modified aliphatic hardeners for non-yellowing cure. This is not negotiable for a premium table top product — aromatic amine hardeners will always produce a yellower cure.
UV stabilizer package. HALS + UV absorber combination at adequate concentration for the product’s intended outdoor and window-adjacent applications. The formulation should specify expected color retention performance — yellowing index increase over a defined UV dose.
Defoamer type and concentration. Not visible on TDS sheets but directly affects surface finish and bubble performance. Ask whether the formulation uses a silicone or non-silicone defoamer — silicone defoamers can interfere with certain topcoat adhesion applications and may not be appropriate for all use cases.
Self-leveling additives. Some formulations include flow-leveling additives that improve surface finish without requiring a perfectly level substrate. Relevant for professional installers doing on-site pours.
Questions to Ask Your Table Top Epoxy Manufacturer
On clarity:
- What hardener chemistry does the formulation use, and what is the measured Yellowness Index at full cure?
- What UV stabilizer package is included? What is the expected YI increase after accelerated UV exposure testing (ASTM G154 or equivalent)?
- Has the formulation been tested for haze or cloudiness in pours at 3mm, 6mm, and 12mm depth?
On bubbles:
- What is the viscosity at 20°C, 23°C, and 25°C?
- What defoamer type and concentration is used?
- Does the formulation self-degas when mixed at low speed? At what working time and temperature?
- Is there documented data on substrate outgassing behavior with common wood species?
On application guidance:
- What is the recommended recoat window for second-layer pours?
- Is seal coat application recommended, and if so, what are the recommended seal coat parameters?
- At what ambient temperature range is the formulation designed to perform?
Jinhua Resin (jinhuaresin.com) is a Guangdong-based epoxy resin manufacturer producing table top epoxy formulated specifically for clarity-critical applications. Non-yellowing hardener chemistry, UV stabilizer packages with documented color retention performance, optimized defoamer concentration, and full TDS documentation including viscosity data across temperature range are standard for all table top epoxy product lines.
A Formulation Spec Reference for Table Top Epoxy Buyers
| Property | Target Range | Why It Matters |
|---|---|---|
| Viscosity (Part A, 25°C) | 800–1,500 cPs | Self-leveling and bubble release |
| Working time (25°C) | 30–45 min | Time for bubbles to self-degas |
| Initial Yellowness Index | < 2.0 (ASTM E313) | Color quality at cure |
| Hardener type | Cycloaliphatic or modified aliphatic | Non-yellowing cure |
| UV stabilizer | HALS + UV absorber | Long-term color retention |
| Recoat window | 4–24 hours | Multi-layer application guidance |
| Shore D hardness (full cure) | 75–85 | Surface durability |
The Clarity Problem Is Mostly a Documentation Problem
The majority of clarity and bubble complaints in the table top epoxy segment are not caused by defective products. They’re caused by products that perform well within their design parameters but are used outside those parameters — wrong ambient temperature, wrong substrate preparation, wrong mixing technique, wrong recoat timing — because the documentation didn’t explain the parameters clearly enough.
For B2B buyers, this is an opportunity. A supplier who can provide clear, specific, application-condition documentation — not just a TDS with physical property numbers, but actual guidance on seal coats, recoat windows, temperature ranges, and mixing technique — gives their distribution customers a product that works reliably in the field. That reliability is what generates the second order, the third order, and the referral.
The formulation matters. The documentation matters equally.
Sourcing table top epoxy for distribution or private label? Jinhua Resin provides non-yellowing formulations with documented clarity performance, UV stability data, and full application guidance for all table top epoxy product lines: jinhuaresin.com